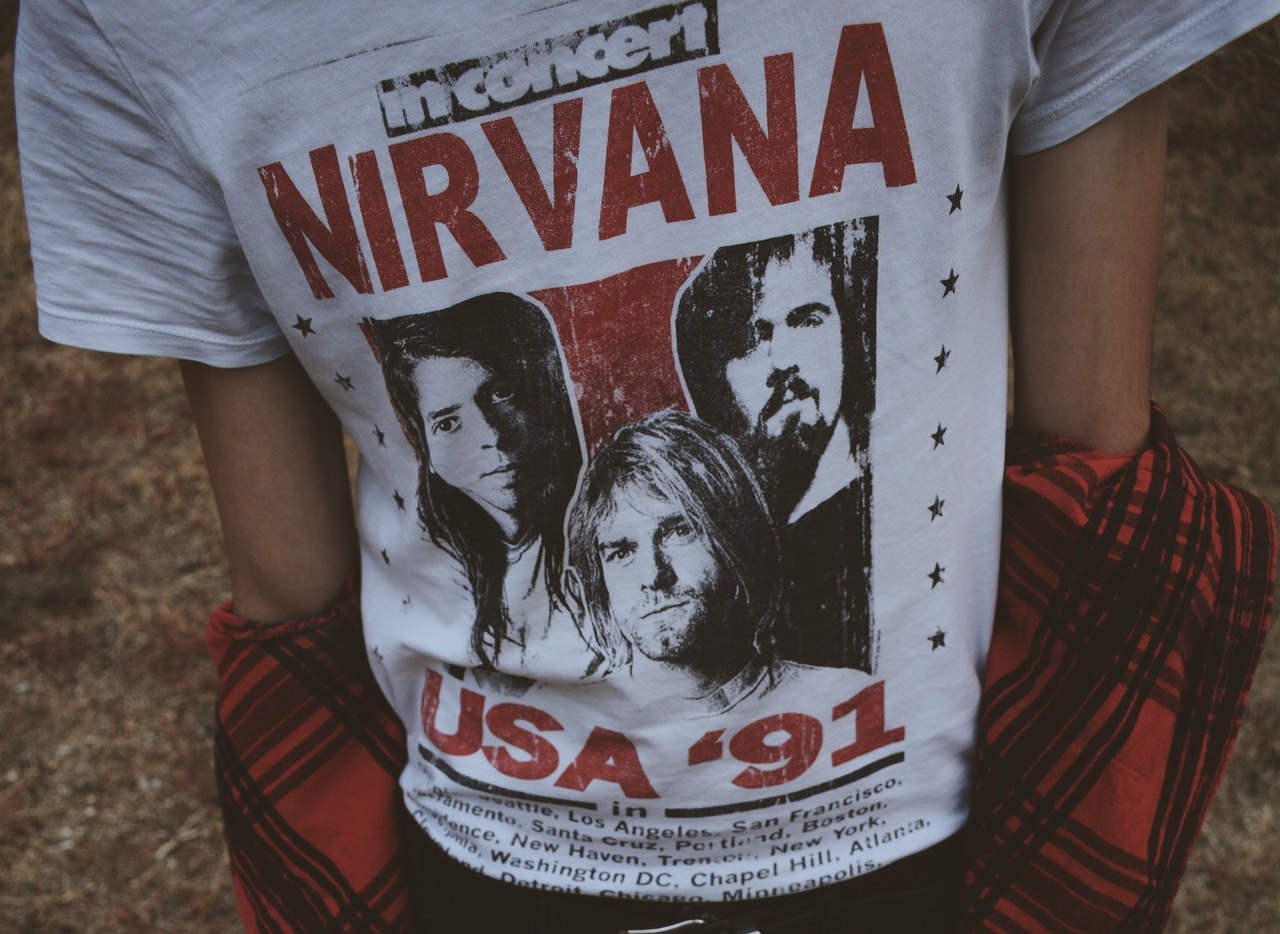
Shoe Design and Prints: Bringing the Casino Vibe to Your Feet
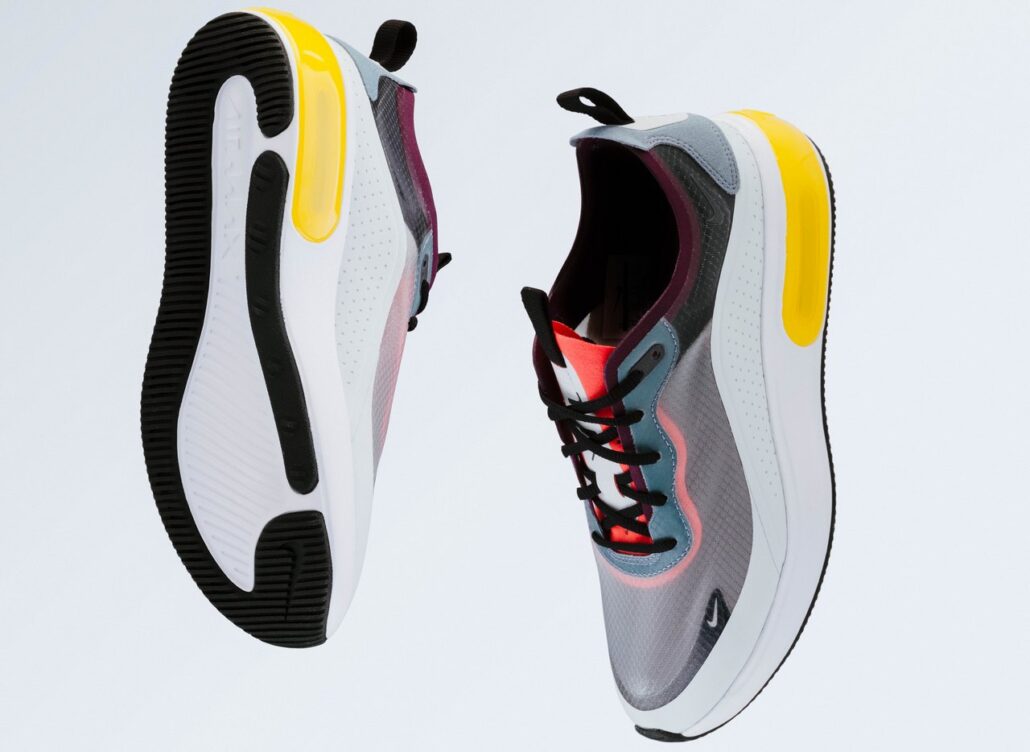
Shoe design is an art form that requires a combination of creativity, technical skill, and an

A course for those who want to learn quickly and qualitatively new professional skills and start working immediately. Only 11 lessons and you will be ready to accept orders for the design of corporate style elements, souvenir and polygraphic products, textiles, bags, tapestries. During the course you will fully master the process of creating a print from a pencil sketch to computer filing and submitting the layout for printing.
Shoe design is an art form that requires a combination of creativity, technical skill, and an

I usually start with the function of designing shoes. First, I need to know what it is like,

Frequency of use The more you use it, the better quality shoes provide protection, and the longest

Looking for trending designs ? Visit Shoppok.com

Discover a world of entertainment at spilavítinánetinuáíslandi.com, your ultimate destination for online casinos in Iceland. Explore the finest selection of games and experiences that online casinos in Iceland have to offer, all at spilavítinánetinuáíslandi.com.”

Meet Ukrainian women for marriage, chat and dating at UADates. Free registration and 100% verified profiles. Learn more!
Sitechecker is an SEO platform with a backlink monitoring tool. You can monitor your backlinks and get notified when any of them will lost to get them back.

Our team did the branding on various clothing options for TopKasynoOnline.com and its chief executive Milan Rabszski. This will help them to be recognized at one of the next conferences in Warsaw.

4rabet leaves casino game lovers wanting more, with a wide range of casino games, live games, jackpot and varieties of slot games, what more can a casino lover wish for? Just get your device, login and get started playing games.

Counted cross stitch kits and patterns. Free designs for hand embroidery.

How to find a serious online casino in Germany – automatenspielex.com/online-casinos/serioese

DrawingFan.com made the review of the best art markers for artists and beginners. Read and discover the tools for your next artwork!
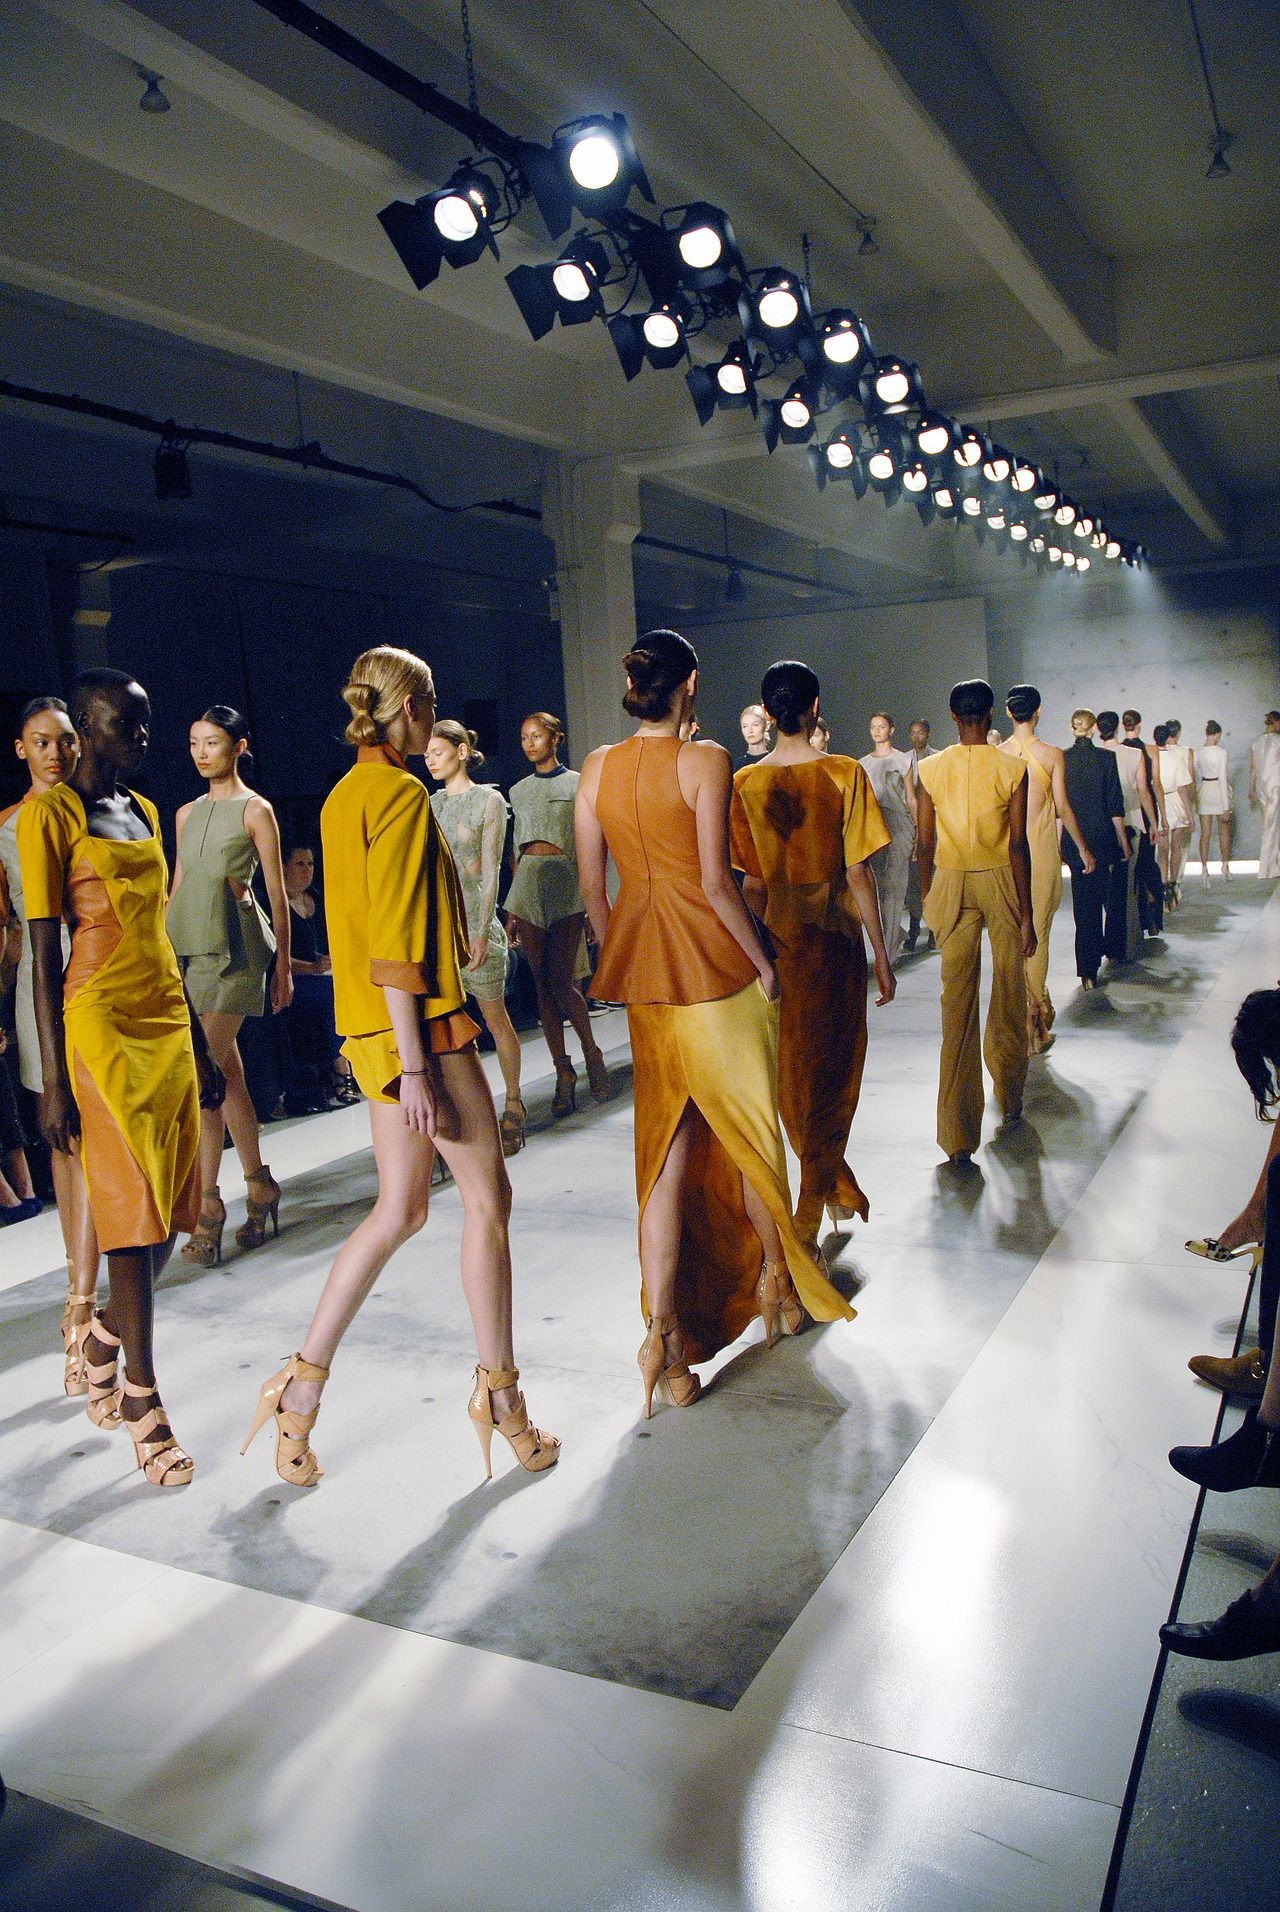
A composition is a creative way of communicating visual data that accommodates different graphic
Often the text plays a key role in the composition, so all its details become important: lettering,

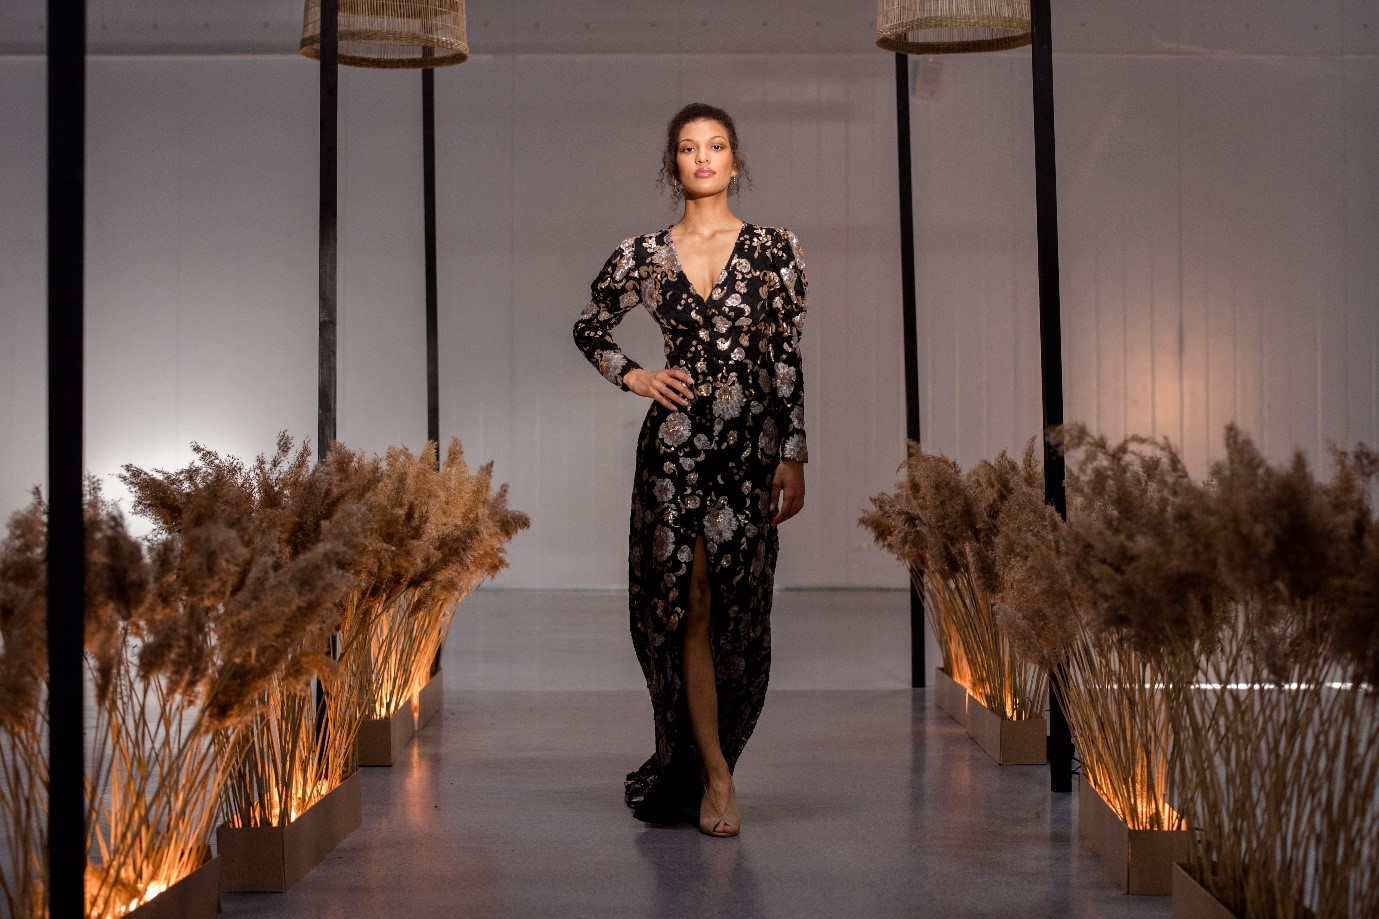
In each season, none of the shows of the new collections of shoes is without shoes in floral